Configurando Certificados con Oracle Wallet Manager

The Digital Certificate is the only means that allows to guarantee technically and legally the identity of a person on the Internet. This is an indispensable requirement for institutions to offer secure services through the Internet.
In the field in which I am working, I have to carry product implementations that need (or at the request of a client), configure secure communication at different points. We are talking about Secure Socket Layer (SSL) and this brings as a requirement to have a Digital certificate to encrypt the channel with which the components are communicating.
Therefore in this POST I will take the time to explain how to configure the digital certificates using WALLETS. In my case, use them with the components of Oracle Identity Management.
1) We first start by obtaining and Installing the ORACLE client to be able to use the Oracle Wallet Manager component.
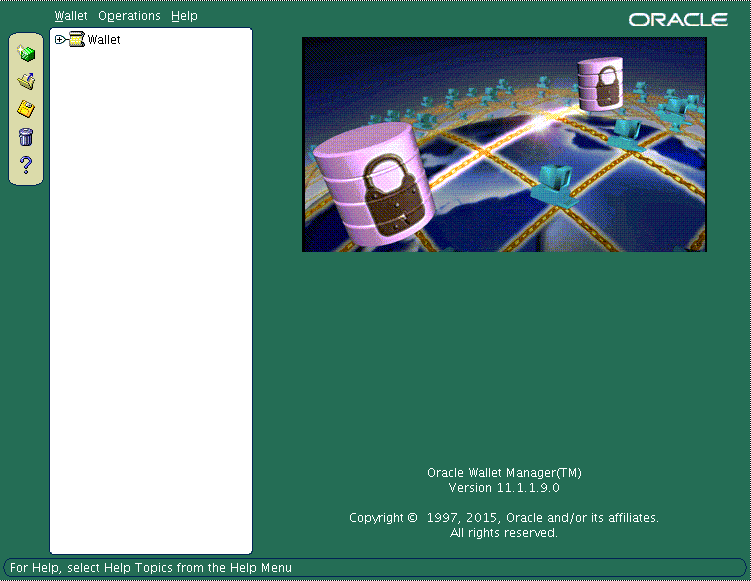
2) Once the component is installed, we start the Oracle Wallet Manager program
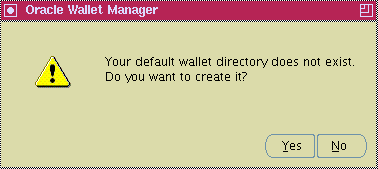
3) Once the program has started We go to the NEW option in the WALLET Menu. A message will appear telling us that the default Wallet directory does not exist and that if we want to create it, in our case we will click on the YES option.
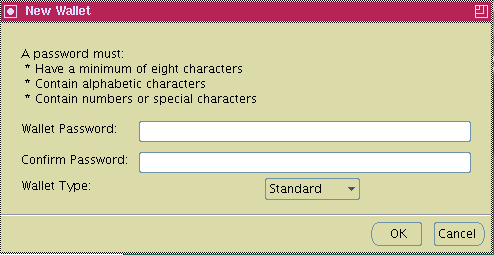
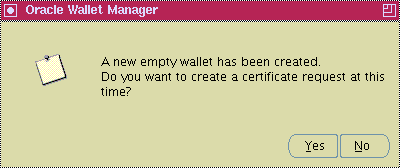
4) Next, a screen will appear in which we will be asked for the WALLET password we are creating. We enter the password we want and keep it well since if this password is lost for future changes in the wallet we will not be able to make them. After this screen we will be asked if we want to create an empty Wallet for our case we will click on the Yes button.
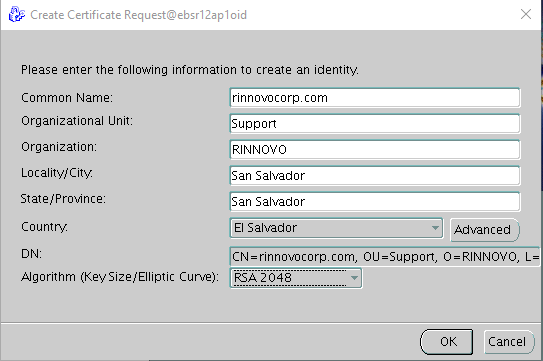
5) When creating the empty Wallet we will be asked for the information required to generate the Certificate Request (CSR) Certificate Signing Request.
Common Name: rinnovocorp.com
Organization Unit: Support
Organization: RINNOVO S.A. de C.V.
Locality: San Salvador
State: San Salvador
Country: SV
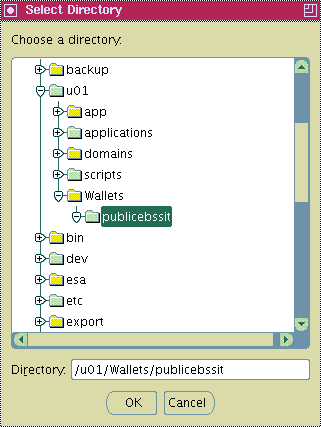
6) Already created the Wallet with its respective Certificate Signing Request we will proceed to save it. Using the WALLET Menu -> SAVE AS, we will select the directory where it will be hosted (It is recommended that it be a purely directory to host the Wallet Nothing else).

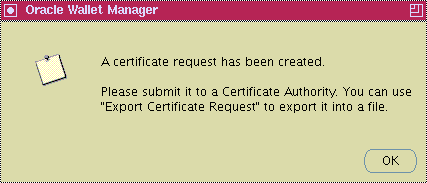
7) Once saved we will generate the file with csr extension to send it to the Certifying entity that approved the Certificate Signing Request. for this we select the option Export Certificate Request from the operations menu.
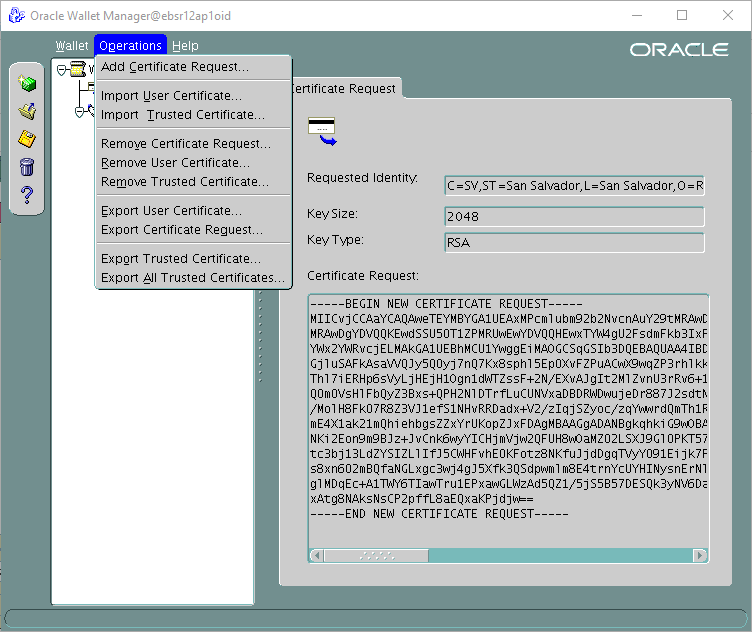
Once saved, we will send the file to the entity to be certified.
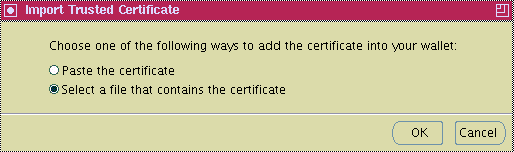
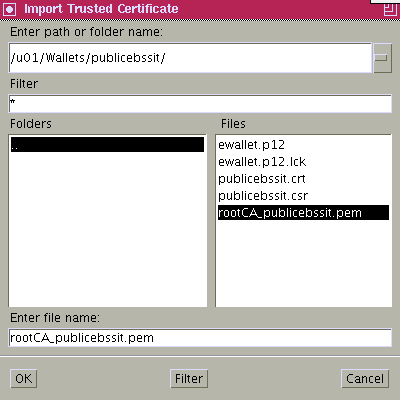
8) When the Certifying Entity already provides us with the approved Certificate and its respective CA as the certifying entity. We will proceed by importing the CA and the approved Certificate to Wallet:
OPERATIONS -> TRUSTED CERTIFICATE
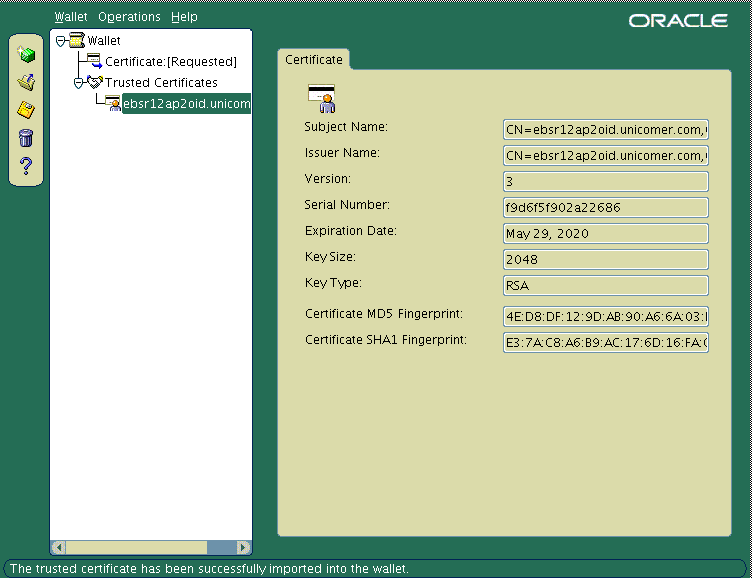
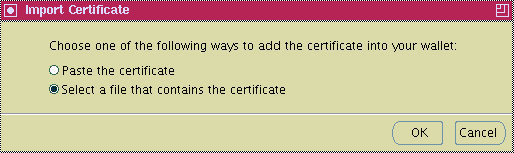
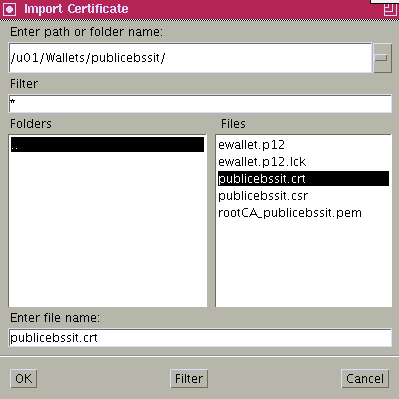
9) YThe CA has already been imported as a Trusted Certificate. But the Wallet is still in REQUESTED state. So we proceed with the import of the Digital Certificate:
OPERATIONS -> USER CERTIFICATE
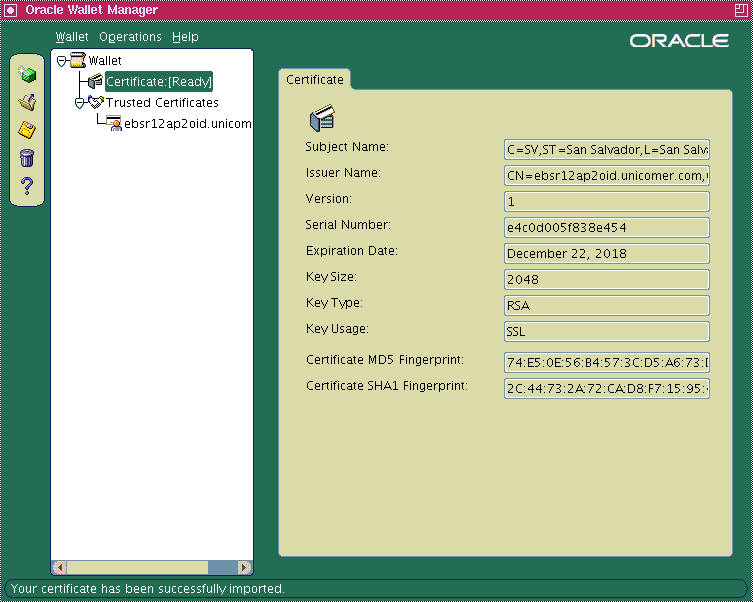
Once the certificate is imported, the WALLET is in the READY state.
10) and as a last step, the AUTO LOGIN option of the Wallet is activated.
WALLET -> AUTO LOGGIN
WALLET -> SAVE
This would be the procedure and the WALLET is now ready for use with certain ORACLE components. To see how the WALLET is configured with the components I will take the time to be able to make other publications that explain it later.
For the moment, if you want to integrate such a wallet with Weblogic Server, for example, I would recommend you to use the Manufacturer's documentation to see the procedure. It is worth mentioning that the Java KeyStore format must be used for WebLogic Server, so the WALLET should be converted to JKS.


